This post illustrates some principles and methods for straightening the arm for Juji gatame - the straight arm bar- from a Judo perspective. This is not a definitive list or be all and end all guide to straightening the arm for Juji gatame and it is written with the Judo contest rules in mind.
The first and foremost thing that you should do when attempting to straighten the arm for Juji gatame is ensure you have a stable position and control over uke. Attempting to straighten the arm without sufficient control over uke risks escape attempts and reversals which in a contest situation will likely mean a stand up, cessation of groundwork and a lost opportunity to win the match.
When casting around for resource material I stumbled across this video and it taught so well what I was going to say that instead of screen capturing it I’m going to let it stand for itself as an introduction to the basic principles of maintaining the Juji gatame position in preparation for straightening the arm.
Now lets look at key principles of breaking the grip in order to straighten the arm.
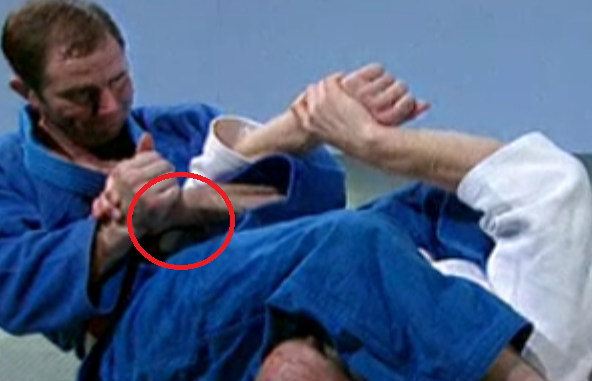
The first is creating space. In order to create space tori should draw backwards and upwards the arm that is inserted against uke’s elbow joint in order to create space between the uke’s arms and uke’s chest if uke’s arms and chest are together breaking the grip and straightening the arm becomes infinitely harder.
So create space and attack the elbow:
Draw it backwards and upwards into you.
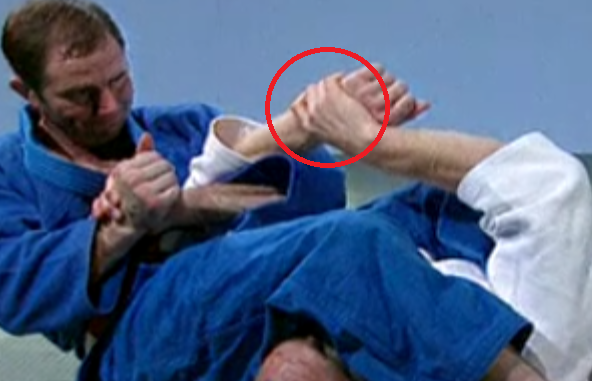
The second key principle is to attack the weakest point with your maximum leverage. In pretty much all situations where you need to straighten the arm for Juji gatame the weak point is uke’s wrist and so all grip breaks should seek to apply maximum leverage to this point to effect the grip break and straighten the arm:
Wrist Lever
The first method of straightening the arm I will explain is my favourite, because it is so powerful and also most people don’t understand what’s going on until its too late.
The ‘wrist lever’ N.B names cited are as I was taught them and are not definitive names.
This is ideally suited to the Iatskevitch roll if launched from uke’s left side, i.e so that tori has the an arm inserted at the head end.
Like so:
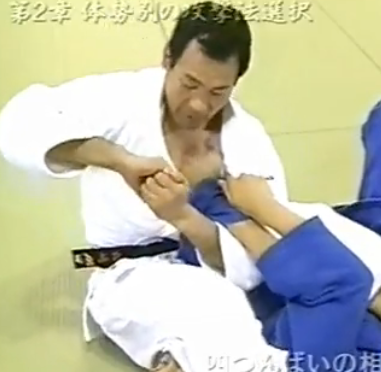
If the arm is inserted at the head end, then use your leg end arm to secure uke’s arms and manoeuvre your head end arm up to the point where it is against uke’s wrist.
Then insert your leg-end arm elbow behind uke’s arm:
Once your arm is secure behind uke’s elbow:
Then you rotate your head end arm to your same side hip and our leg arm to uke’s away side hip:
Head end arm motion indicated in black, leg end arm motion indicated in red.
If you end up with the leg end arm inserted and want to attempt the grip break outlined above: Then you can lock your hands together in an S shaped grip and slip the arm through:
The collar hold
Starting with the head-end arm in
The grip break starts with the left arm through, if you want to attempt this grip break but have the wrong arm through simply follow the above example of getting a locked S shape grip and swapping hands.
Once you have the correct hand through observe principle one and pull upwards and into you to create space, by grasping your own lapel. Feed your inserted hand onto your lapel using your free hand:
Grip as close to your own chin as possible to maximise tension applied to the elbow joint and thus space between uke’s arms and chest to effect the grip break.
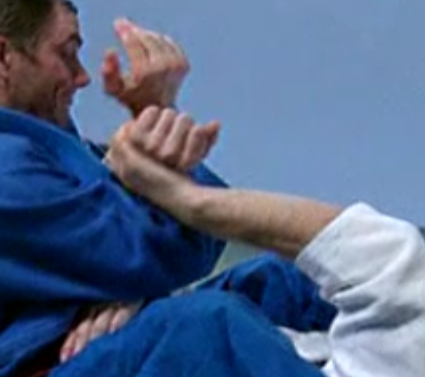
Then insert the free leg-end arm against uke’s wrist, observing principle two:
Rotate down to uke’s leg end grasping your leg-end arm with your head end arm if necessary to effect the grip break and straighten the arm.
Swapping the arm
Again observe first principle of drawing inwards and upwards with the inserted arm in this case usually the leg-end arm.
Once secure and with enough space insert the head end arm:
Then rotate back towards uke’s head, observing the second principle of attacking the weakest point:
Flat arms
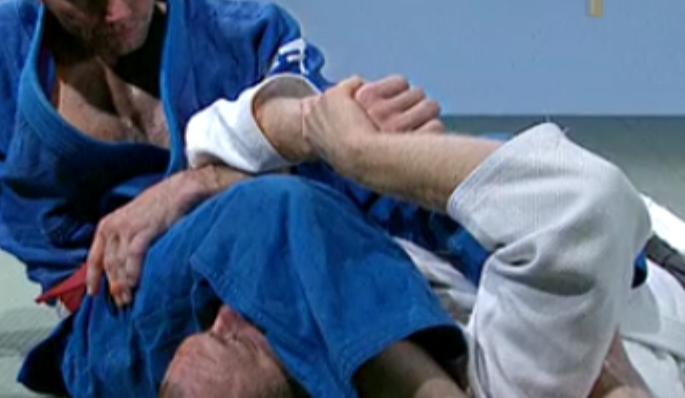
Sometimes you’re not able or quick enough to be able to create space by applying pressure to the elbow joint so you end up with an uke with flat arms.
In this situation there is quite an effective grip break you can do. You first thrust your inserted arm through deeply so that you grasp your own thigh. Alternatively if you have enough space you can grab your own lapel.
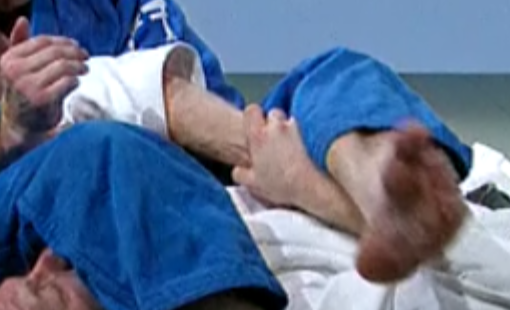
You then take your leg-end leg and place it over uke’s arm:
Its very important that you move the leg-end leg first because otherwise if you move the head-end leg you give uke an opportunity to escape because you lose control over the head.
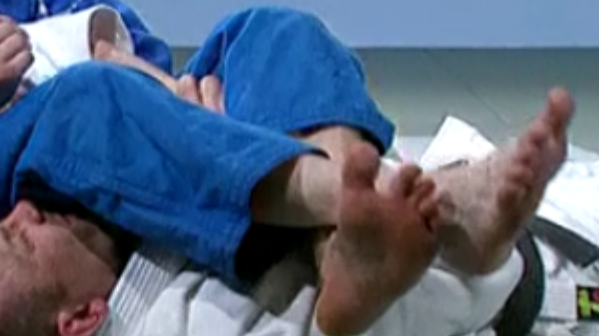
Once you’ve placed the leg-end leg in the right place then move the head-end leg, this sequence is to ensure continued control over the head, place it on top of uke’s arm:
Once in this position:
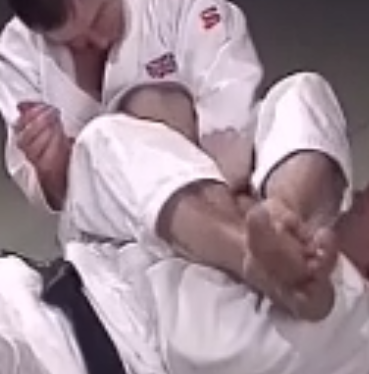
You apply downward pressure with the legs whilst pulling inwards and upwards with the inserted arm and uke’s arm should just pop out.
Figure 4/ Bicep slicer
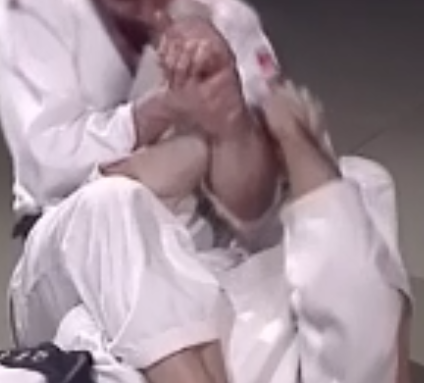
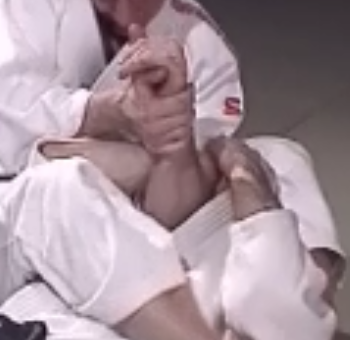
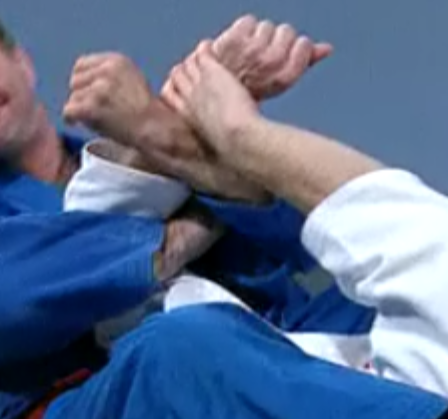
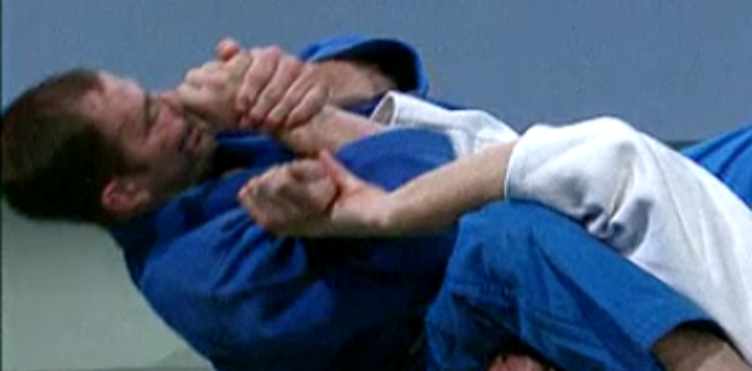
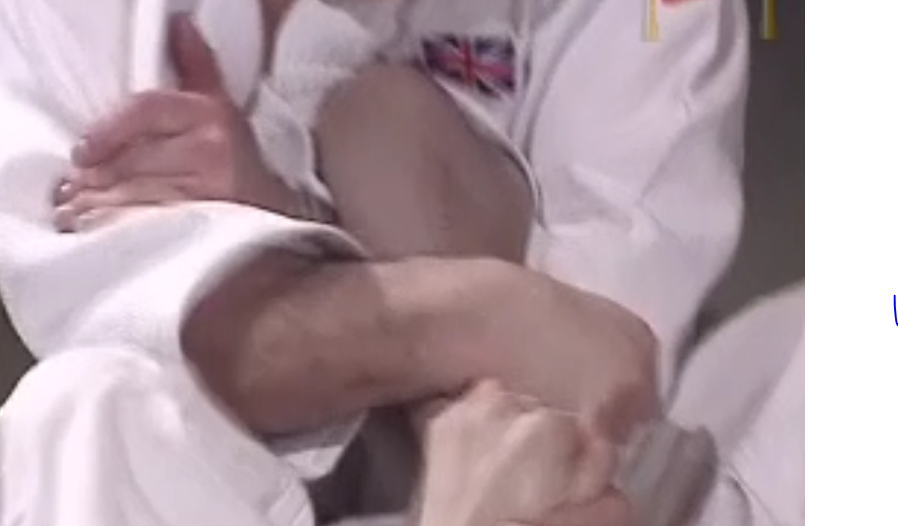
The figure 4 grip break involves inserting your inserted arm even deeper so that the crook of the elbow is in contact with the crook of uke’s elbow. Then insert your free arm under your already inserted arm and grab uke’s wrist:
Now to effect the grip break observe principles one and two. Draw the arm upwards and into you, then pressure down with the other arm to apply pressure to the elbow. To increase the pressure lean back whilst applying the pressure to the elbow. The arm should pop out, then you secure it and apply the kansetsu waza.
I hope this brief overview on a Judo perspective of straightening the arm has been useful and will help you finish more Juji gatames.






WoW's all I can say! Thx
ReplyDeleteReally nice
ReplyDelete